Cost-conscious car buyers are always on the lookout for the best deals on old cars. Buying a new car is great but it is expensive and not everyone can afford it. On the other hand, if you manage to find a good deal on an insurance salvage car for sale, you can own a car without burning a hole in your pocket. After you buy a salvage vehicle, it may need some body repairs before you can put it back on the road. While you can always hire a professional to do all the repair work, you can also go the DIY way. To help, here are some DIY body repair tips for your car restoration.
Work in a Well-lit Space
Good lighting is a basic requirement for your DIY car restoration project. If you can, install some powerful lights that let you see every minor crack or dent that the car may have. If you have fluorescent lights in your garage, switch to LED lights as they are brighter and make it easier to spot even the smallest blemishes that might not be visible under fluorescent lights. Depending on your budget and preference, you can either convert your fluorescent light fixtures into ballast-free LED fixtures or replace them with a new set of LEDs.
Use High-Quality Filler and Mixing Board
After locating all the dents and cracks in your car’s body, you will have to decide how you want to fix them. Although for large dents, you might need professional help, for minor dents and scratches, you can use a high-quality auto body filler. Use a mixing board to mix the filler and scoop it up until you achieve a certain consistency. Do not apply the filler in one go. First apply a ‘tight” first coat. This helps burping the air out of the scratches and smoothens the rough metal surface. After that, apply a thicker ‘fill coat’ layer to fill the dent completely. Leave the filler to dry after application. The time for drying depends on the thickness of the filler and humidity.
Use a Sanding Tool
Once the filler coating has dried, you will need to sand it to match the contours of the car’s body. It is recommended to use a sanding tool rather than sanding by hand. Even if you are extremely careful, sanding by hand may leave those natural grooves and errors. For a smooth finish, invest in an all-purpose sanding tool.
Invest in a Paint Sprayer
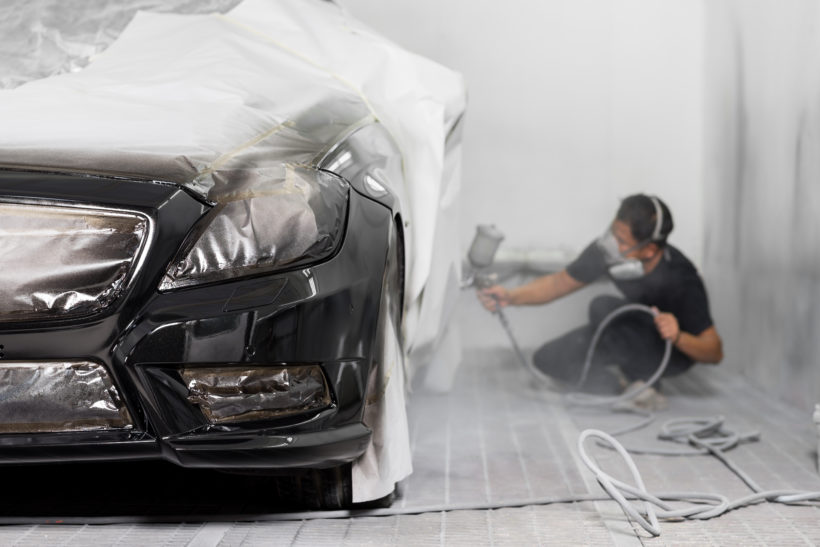
Sanding is followed by the painting of the area that has been repaired. Painting your car is not like painting your home walls. You need specialized equipment for that. Investing in a spray painter is a good choice for your DIY car restoration project. A paint sprayer saves time, requires less efforts and helps achieve consistent paint coverage even with repetitive painting. Paint sprayers provide uniform finish on even some hard-to-paint surfaces in significantly lesser time.
Apply Glaze and Wax
Once the repainting is done, it will be time to apply glaze and wax. Before applying, you need to understand the difference between both. Glaze is a substance that is applied to fill and obscure any small scratches or imperfections that are visible on your car’s body. Wax is an oil-heavy product that is applied to provide extra protection to the glaze while providing a wet look. It extends the durability of glaze and protects the surface from elements such as dust and moisture.
The Last Word
If you are still looking for a salvage car for your DIY restoration project, look no further. Salvagebid has a large inventory of clean and salvage title cars, where you can find great deals on an array of insurance salvage cars for sale. All you need to do is register for a free account, place a 100% refundable security deposit, and start bidding. For more information about our online auctions featuring salvage cars for sale in the USA, simply call +1 (360) 347-1300 between 6:00 AM and 3:00 PM (Pacific Standard Time), Monday through Friday, or email support@Salvagebid.com.


